Connect with Valyd
🔑 Auth:
client_id+client_secret(server-side) · 👤 Standard OpenID Connect · 📖 After connecting: read the user’s account with a Bearer access token
Connect with Valyd establishes the user’s reusable Valyd identity in your app — the first step of Reusable Verification. It is built on OpenID Connect (OIDC), so it can also serve as your app’s sign-in. The user connects, and you get their profile, licenses, and verification proofs. Add the button, done:
<script src="https://idp.valyd.work/signin/client.js" async></script>
<div class="valyd-signin"
     data-client-id="YOUR_CLIENT_ID"
     data-redirect-uri="https://yourapp.com/auth/valyd/callback"
     data-scope="profile verifications"></div>
That’s the whole front end.
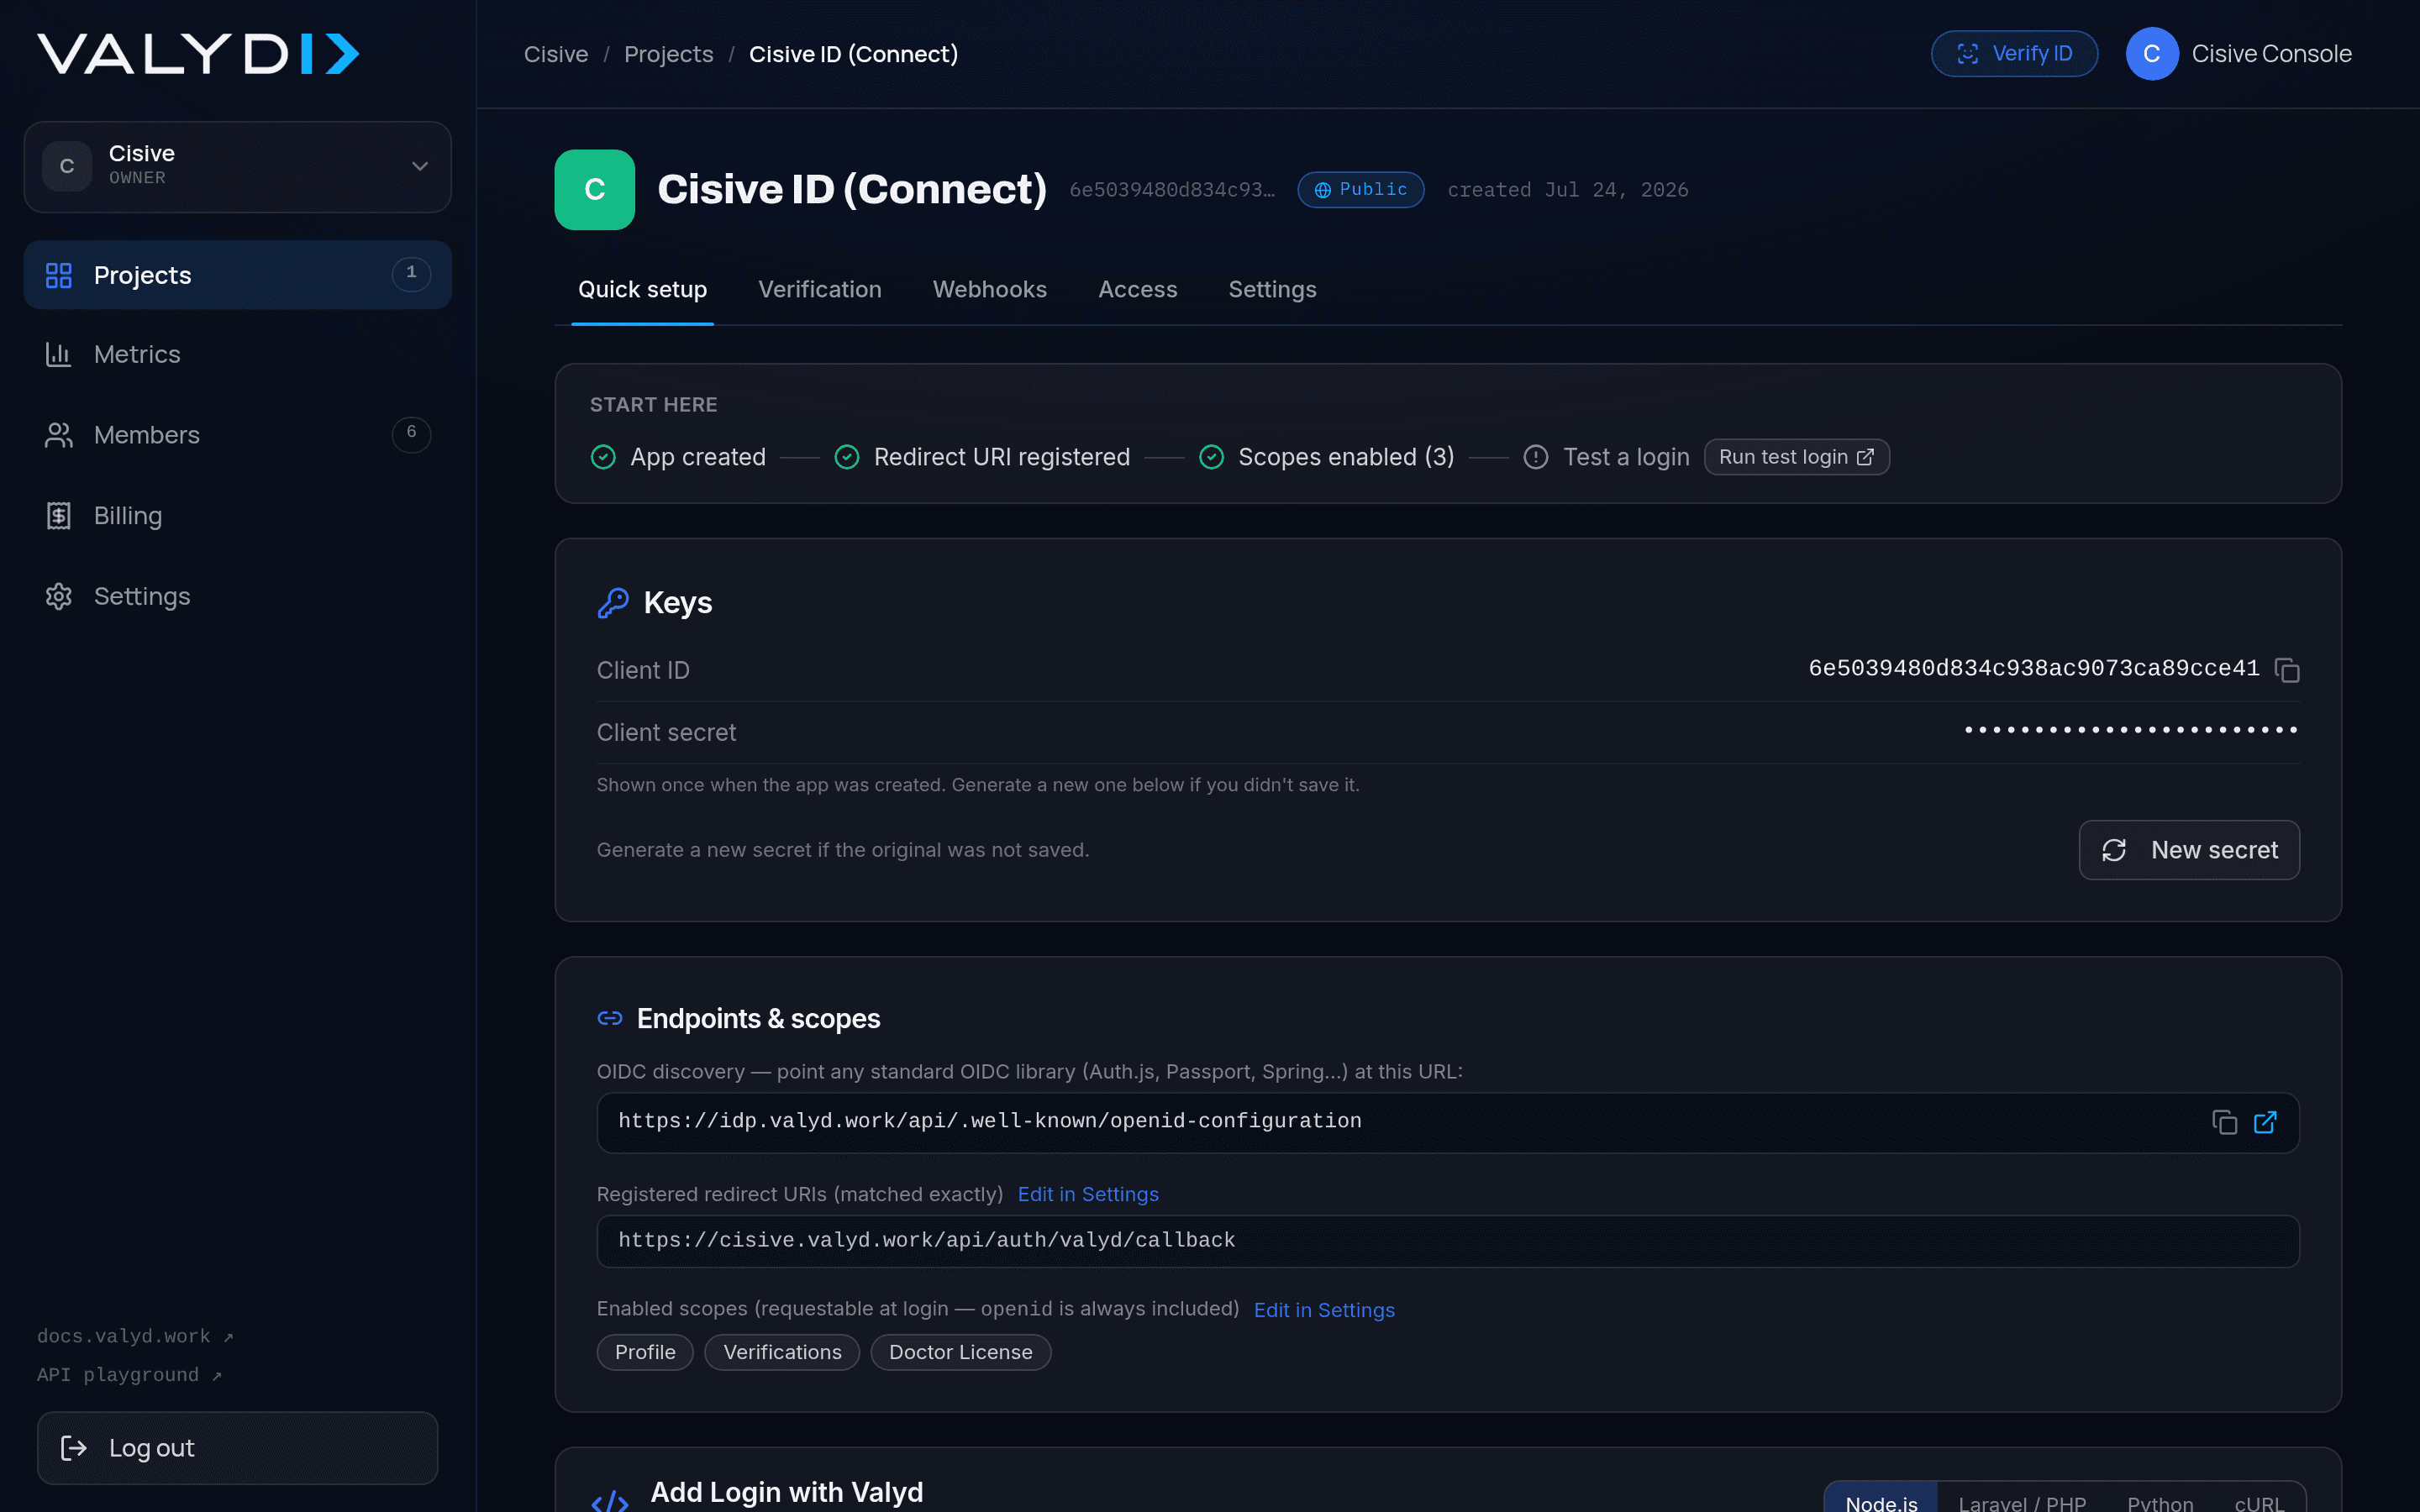
🌐 Your OIDC provider is
https://idp.valyd.work— discovery at/api/.well-known/openid-configuration. The button and SDK point at it for you; using your own library? See Use your own OIDC library.
Standard OpenID Connect, end to end — the button and SDK handle every step below:
1. Get your credentials
In the Developer Portal create an app, enable the scopes you need
(profile is on by default), and register your exact callback URL. Copy the client_id and
one-time client_secret. New accounts start with a $100 welcome credit for
testing.
2. Handle the callback
One backend route at the data-redirect-uri you set on the button (Express shown — any
framework works; req is the incoming callback request):
import express from "express";
import cookieParser from "cookie-parser";
import { ValydClient } from "@valyd/sdk";   // npm i @valyd/sdk cookie-parser

const app = express();
app.use(cookieParser());
const valyd = new ValydClient({ clientId, clientSecret, redirectUri });

app.get("/auth/valyd/callback", async (req, res) => {
  const { user } = await valyd.handleCallback(req.url, {
    expectedState: req.cookies.valyd_oidc_state,   // the button set this cookie
    nonce: req.cookies.valyd_oidc_nonce,
  });
  // user.valyd_id — stable ID; user.id_verified — identity proof
  res.redirect("/dashboard");
});
Done. See the complete example, or plug in your own OIDC library instead.
The user is connected — see what they already have
| Endpoint | What it reads from the user’s account |
|---|---|
GET /api/auth/oidc/userinfo | Profile: legal name, username, id_verified |
GET /api/auth/oidc/licenses | Professional licenses already verified on the account |
GET /api/auth/oidc/verifications | Saved verification proofs and badges |
These read what the account already holds, gated by the scopes the user approved. Raw identity attributes (DOB, document data) go through the explicit consent flow.
KYC not done yet? License missing? Run your workflow for the
user — create a session with their valyd_access_token — and the
passed proof lands on their Valyd ID. Next time you just read it here.
Security rules
- Keep
client_secret, tokens, and the OIDC transaction on your backend. - Register an exact HTTPS redirect URI.
- Never build your own state, PKCE, nonce, or JWT validation when the SDK can do it.
- A verification API key is not an OIDC token and must not be placed in a browser.