Create a workflow
🔑 What you leave with: an App API key (shown once), a
workflowId, and a webhook secret
Portal setup for Reusable Verification: where verification lives in the Developer Portal , and the three things to grab before your first session. Don’t have an account yet? Create one first — it takes a minute and comes with a $100 welcome credit.
Where verification lives in the portal
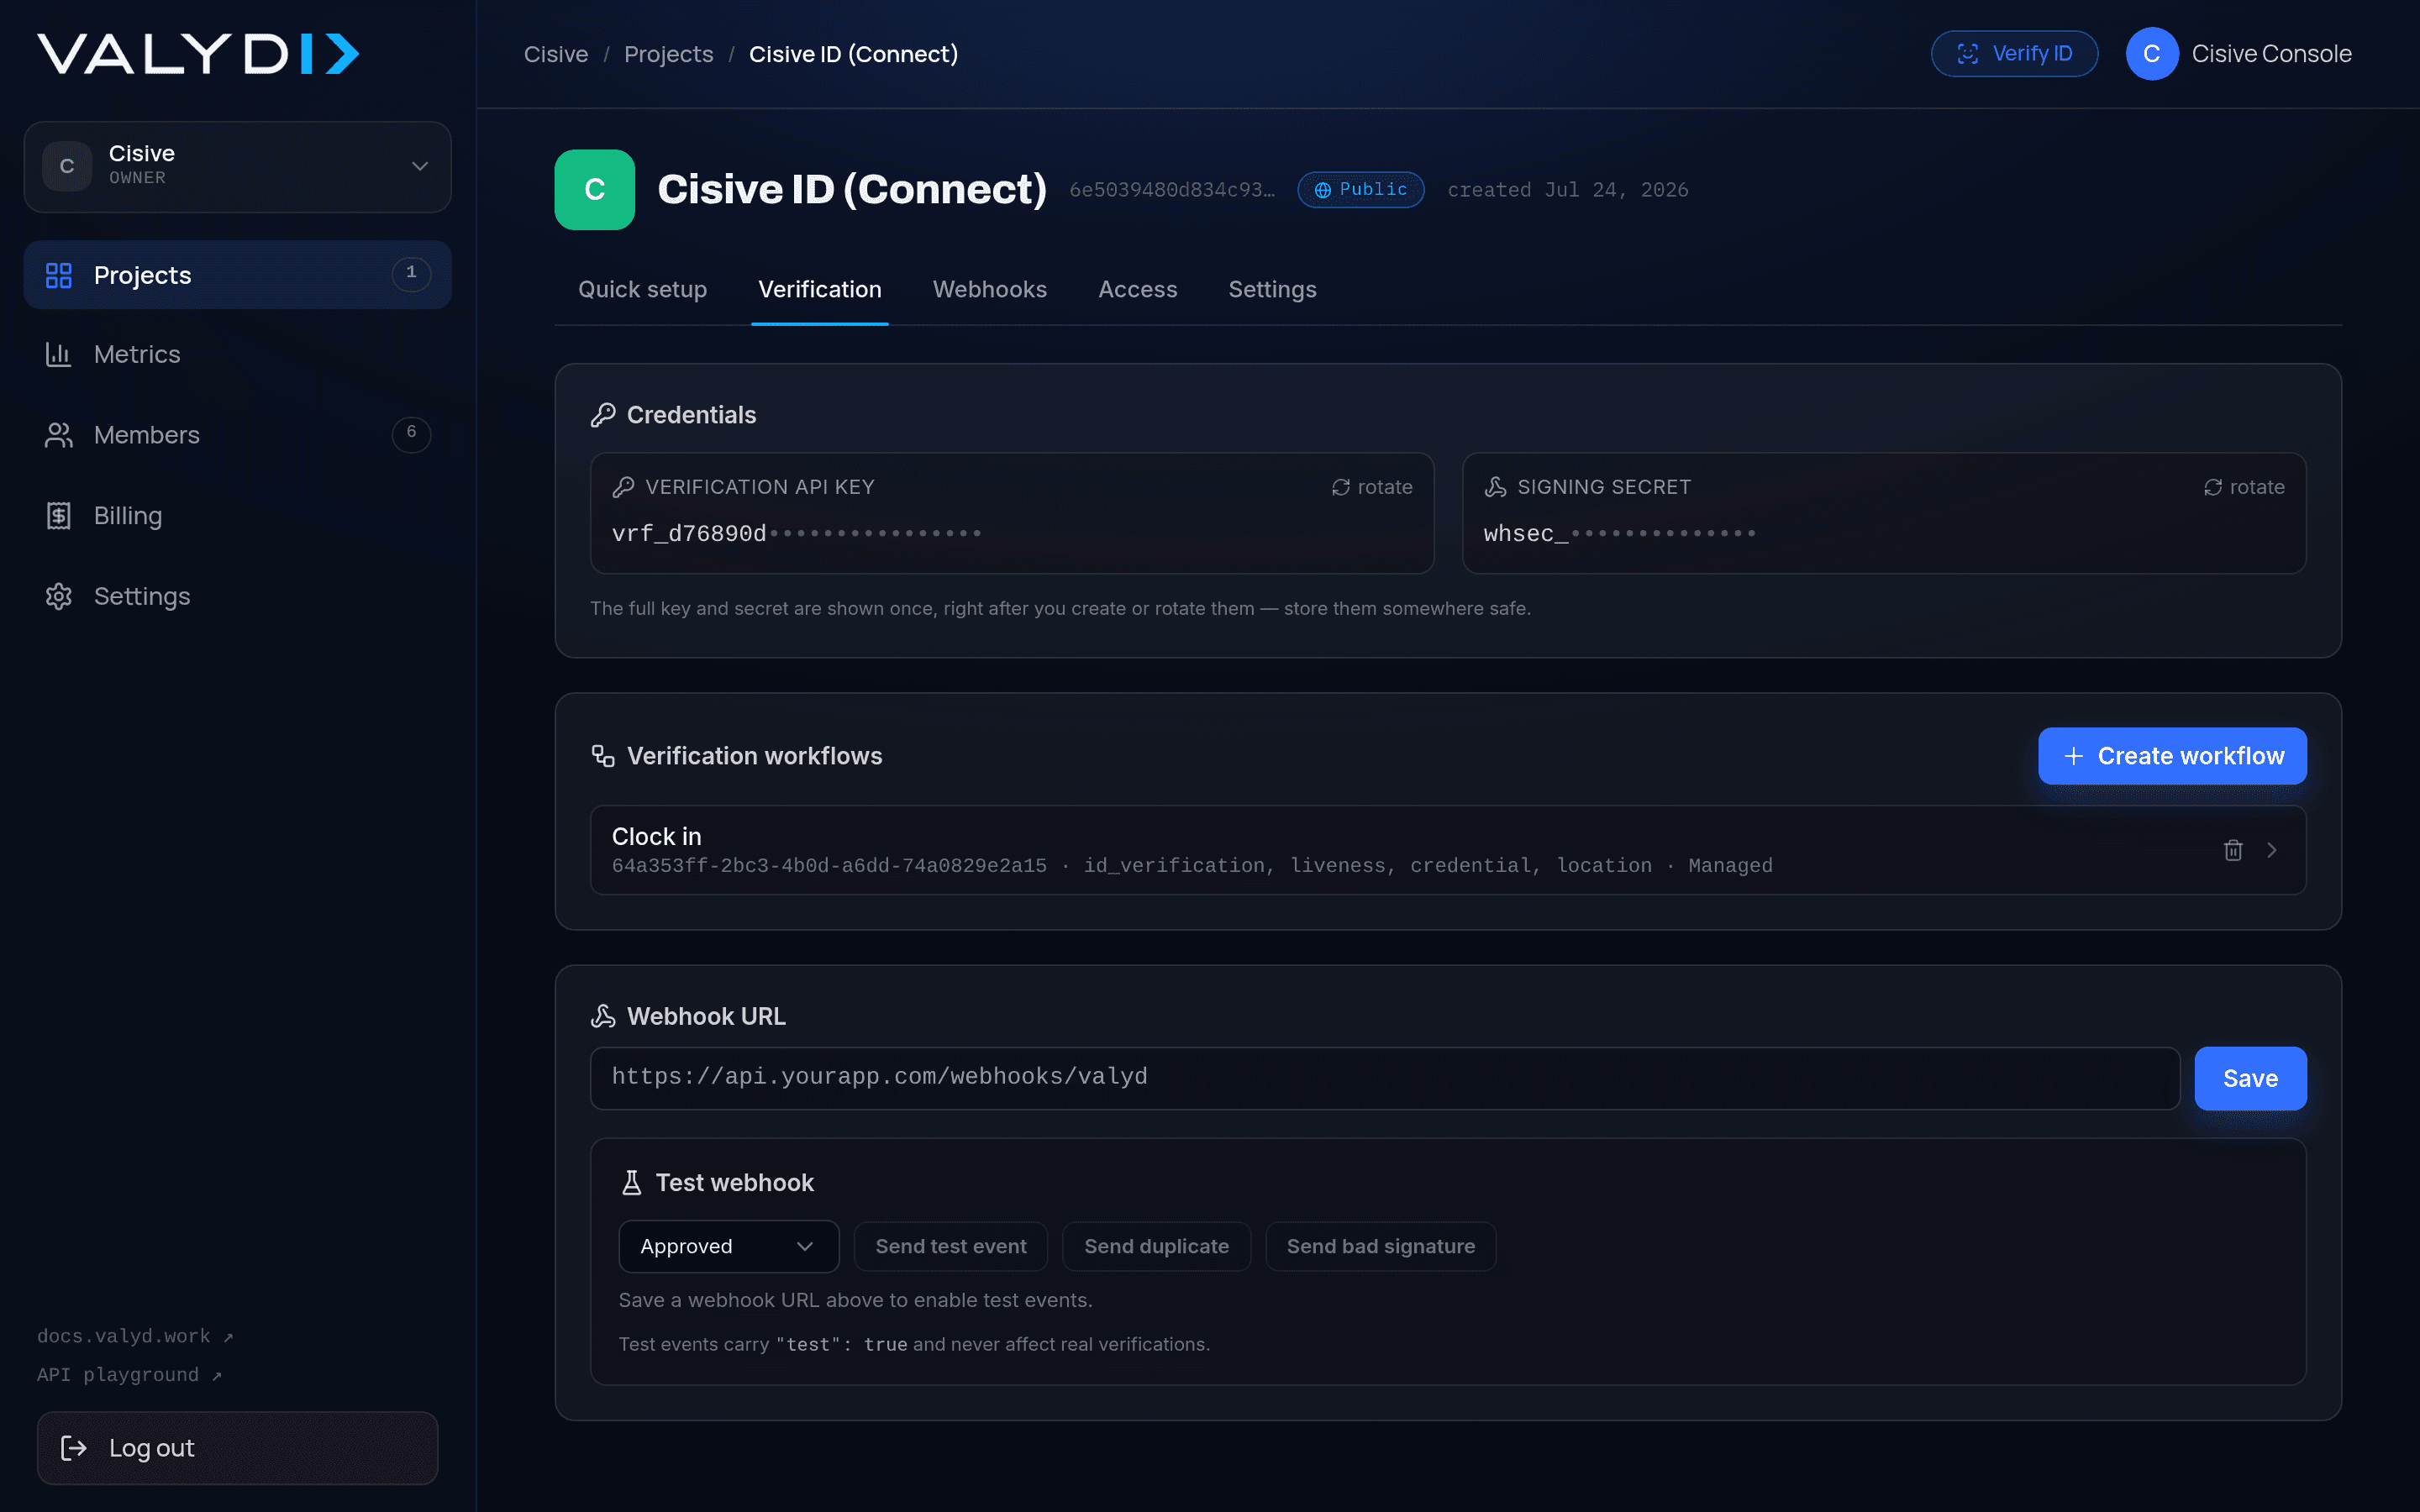
Verification is configured inside your app — the same app whose OIDC credentials power Connect with Valyd. Open the app → its Verification tab:
(Building only with the Unique Human API? No project needed — every organization has a built-in Unique Human API key on the dashboard for no-account anti-spoof checks; see that page’s setup section.)
Get your API key (shown once)
When you open the app’s Verification tab, the portal shows the API key exactly once in a show-once panel. Copy it immediately and store it server-side — it cannot be retrieved again. If you lose it, rotate it in the portal to mint a new one.
Never put the key in browser code: it belongs in your backend’s environment, passed to the SDK client on server-to-server calls only.
Build the workflow
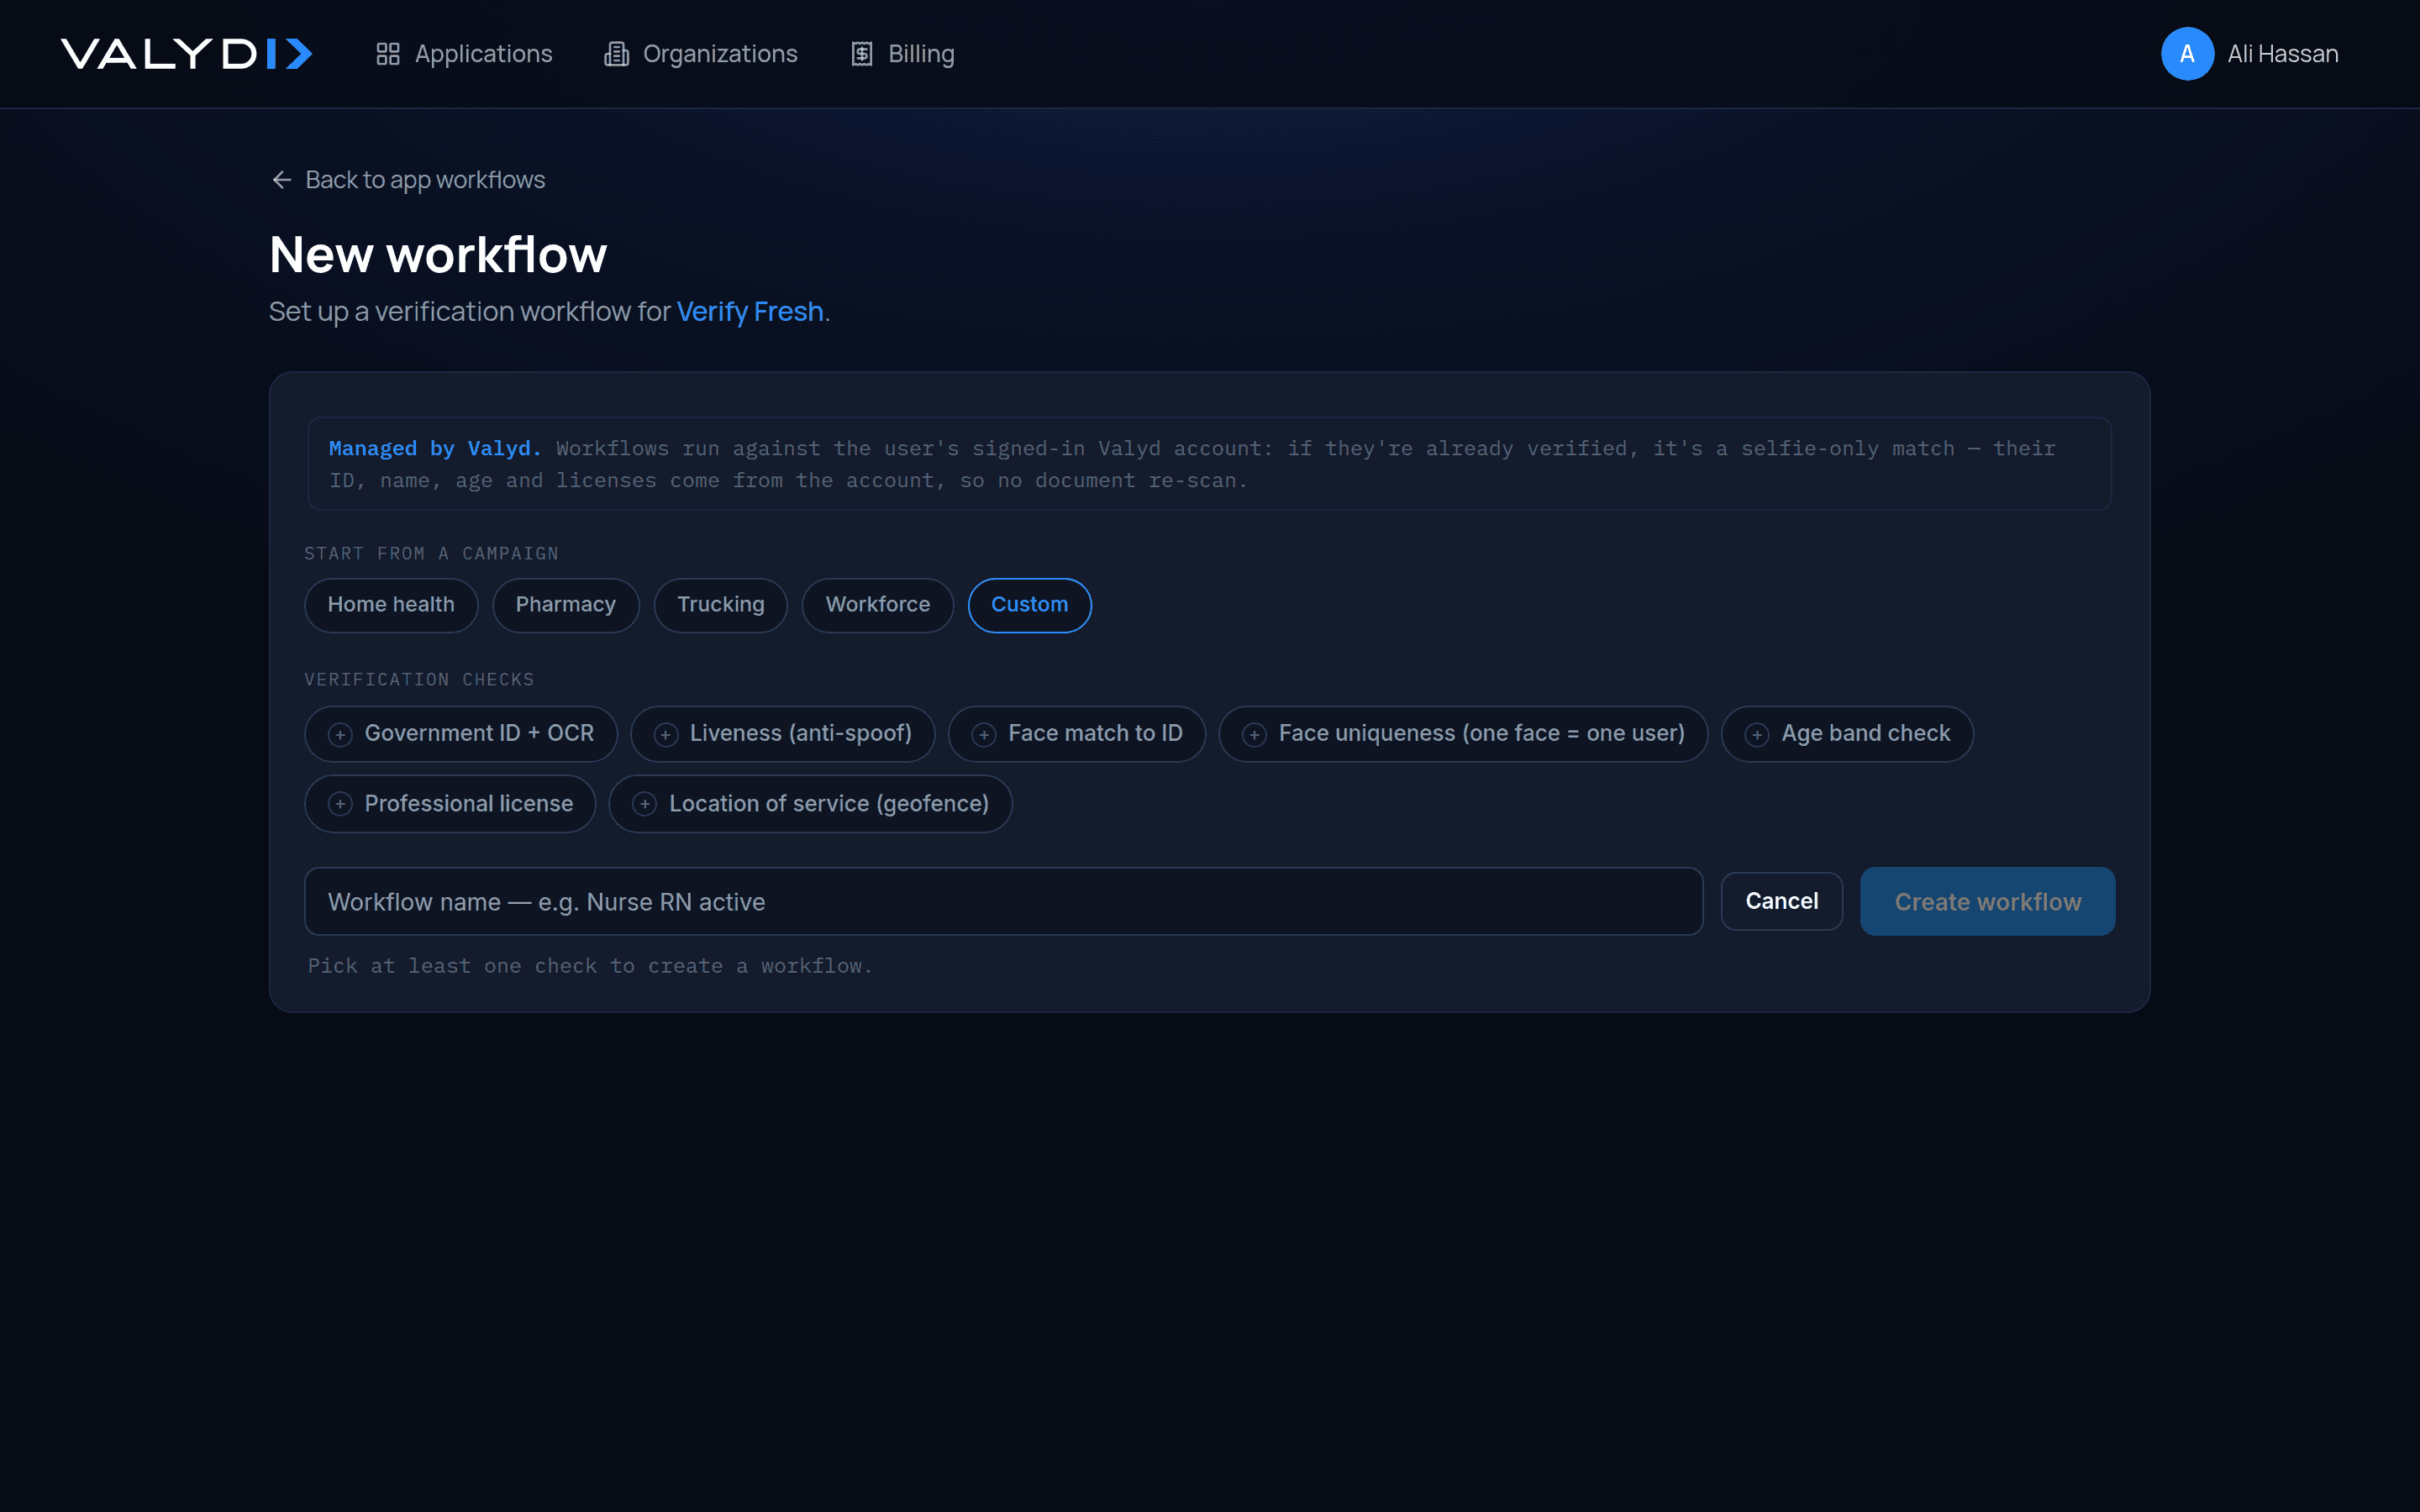
A workflow is the saved bundle of checks your app requires — KYC,
professional license, face match, liveness, location, and more. Build one with the workflow
wizard and copy its workflowId:
Configure webhooks
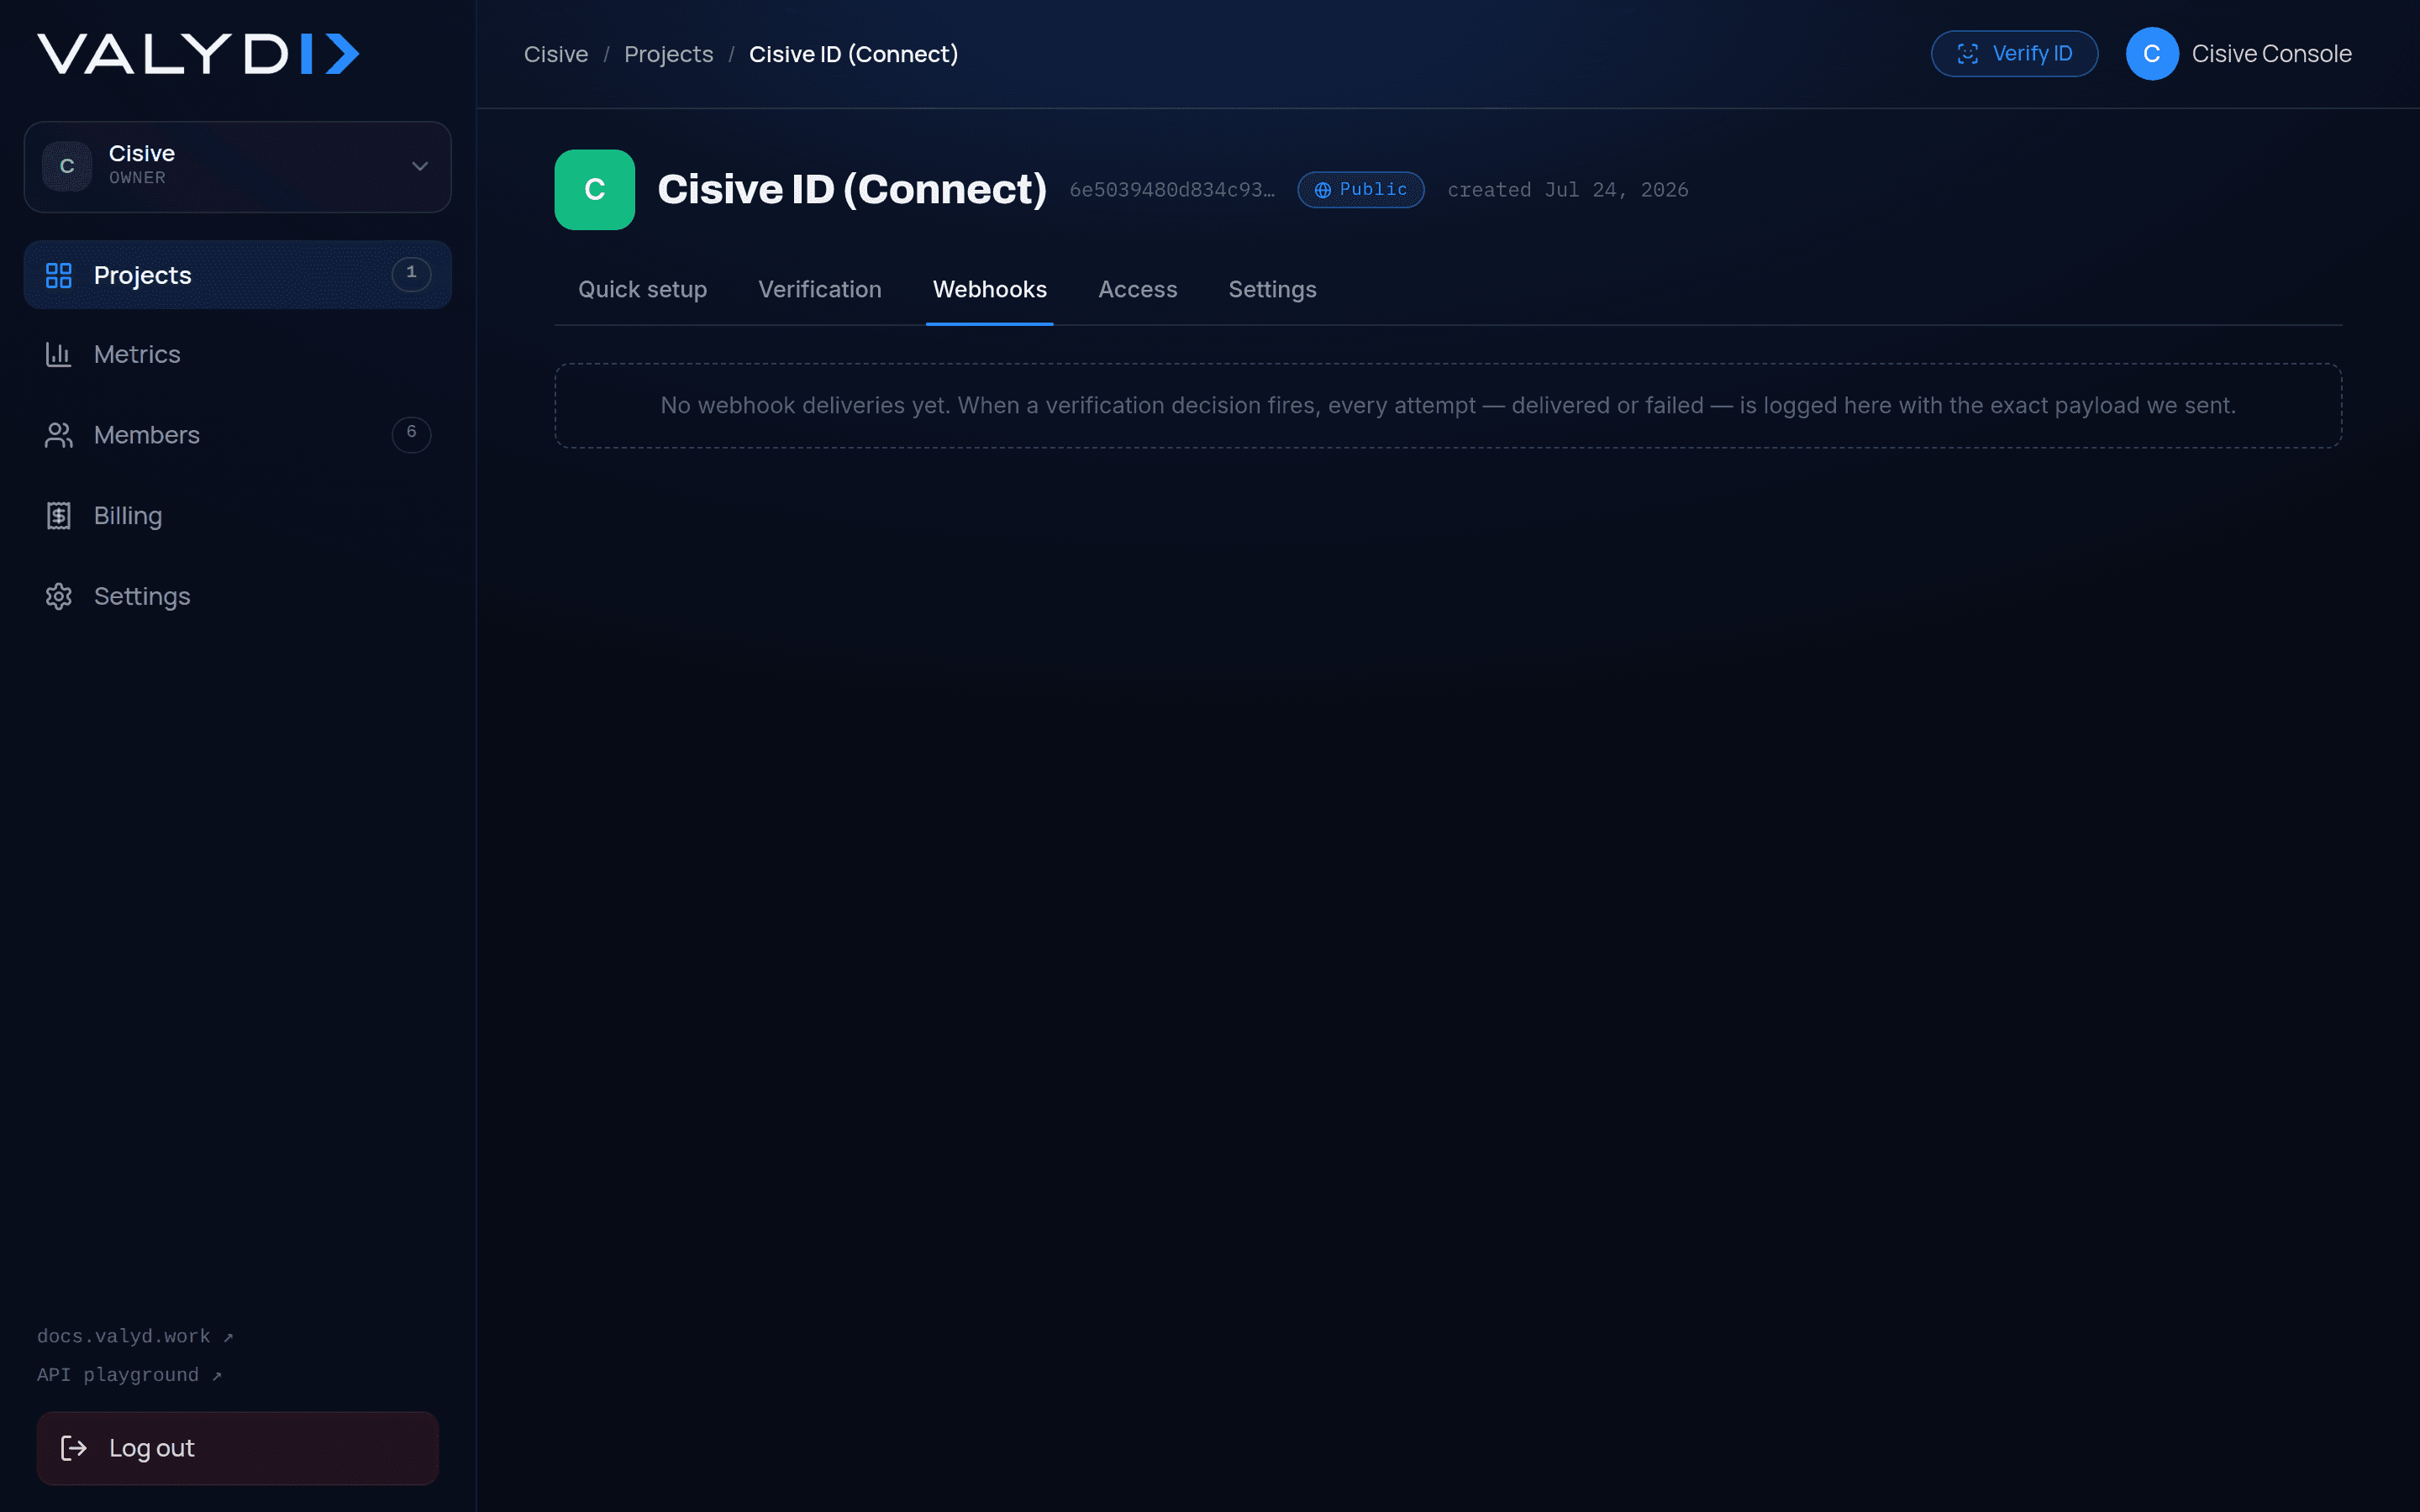
Set your endpoint URL and copy the signing secret under Webhooks. Valyd POSTs signed events there when a session finishes — Webhooks covers verification of the signature. The portal includes a webhook tester so you can fire test events at your endpoint before going live:
Next
- Run a verification — first session with the key and
workflowIdyou just copied. - Workflows — presets, bundling checks, and changing a workflow.
- Checks reference — everything a workflow can verify.