Create your account
Everything starts at dev.valyd.work . You sign in first, then a short guided setup creates your first app and ends with ready-to-run credentials on screen. About two minutes.
1. Sign in
One sign-in creates your developer account — no password to set up:
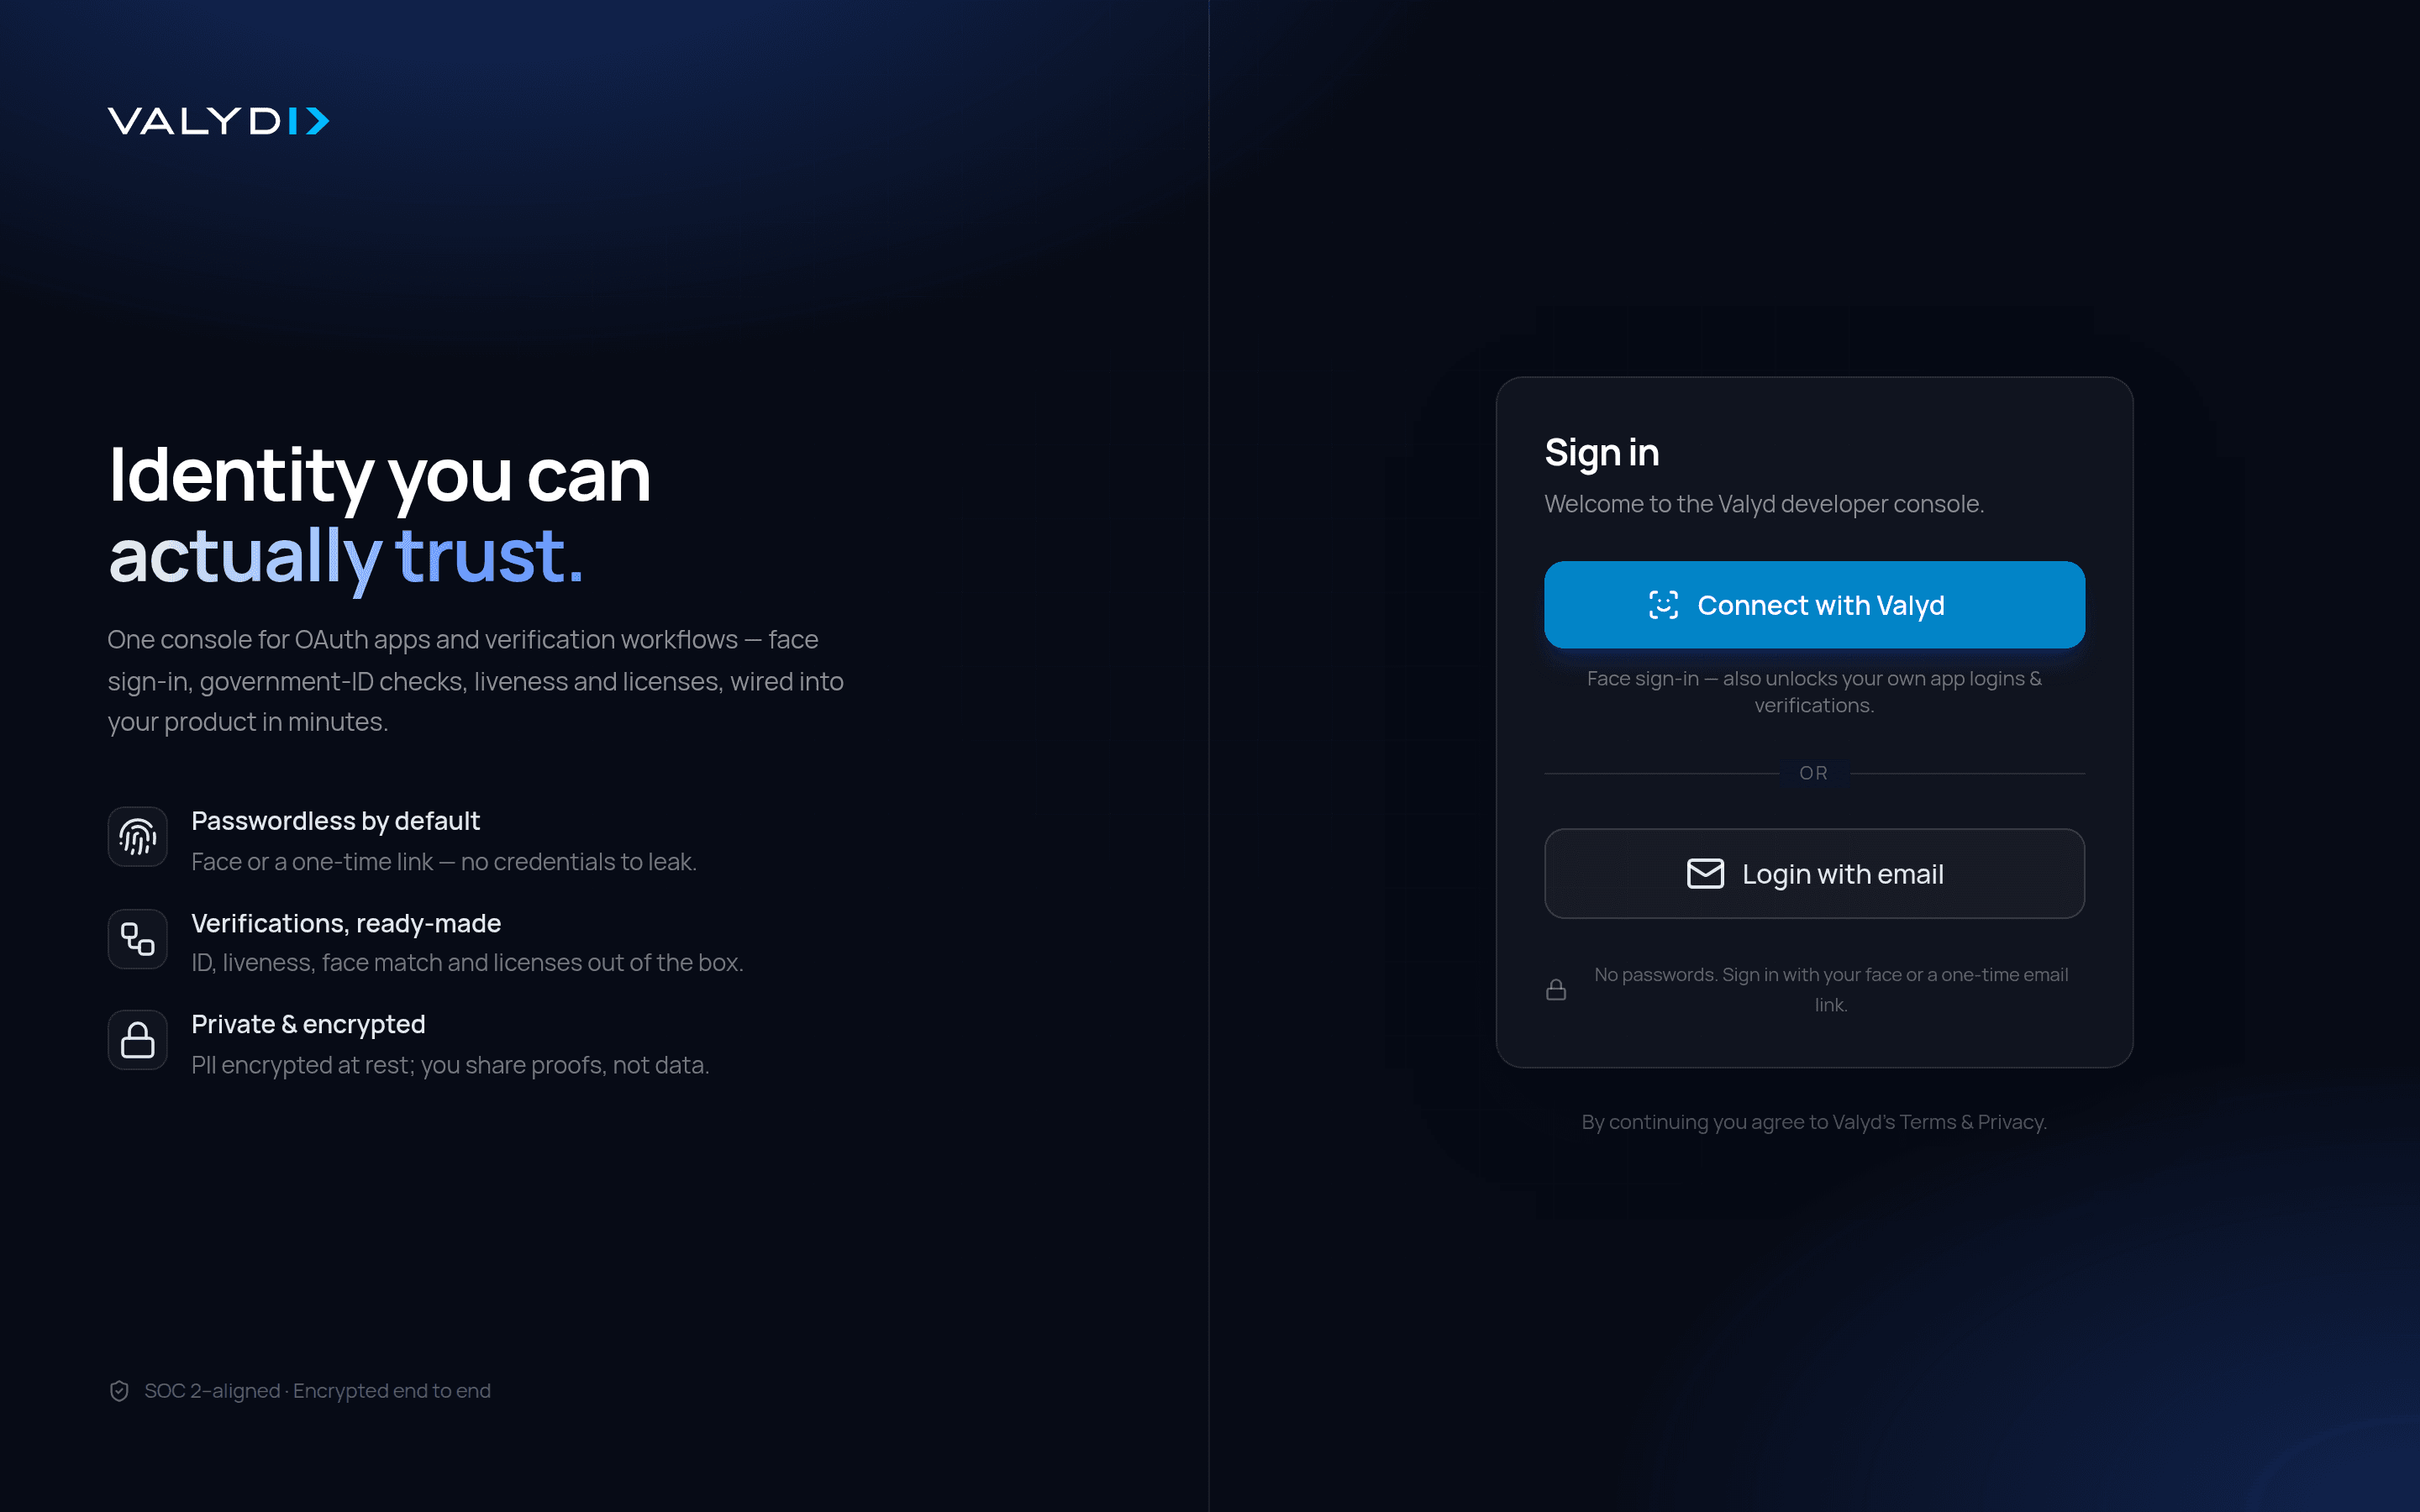
- Connect with Valyd — face sign-in with the Valyd app; it also lets you log into your own apps and run verifications with your identity.
- Login with email — a one-time magic link, no password. You can connect a Valyd ID later from the dashboard.
💰 New accounts start with a $100 welcome credit — run real logins and verifications while testing without adding a card.
2. Create your first project (or skip)
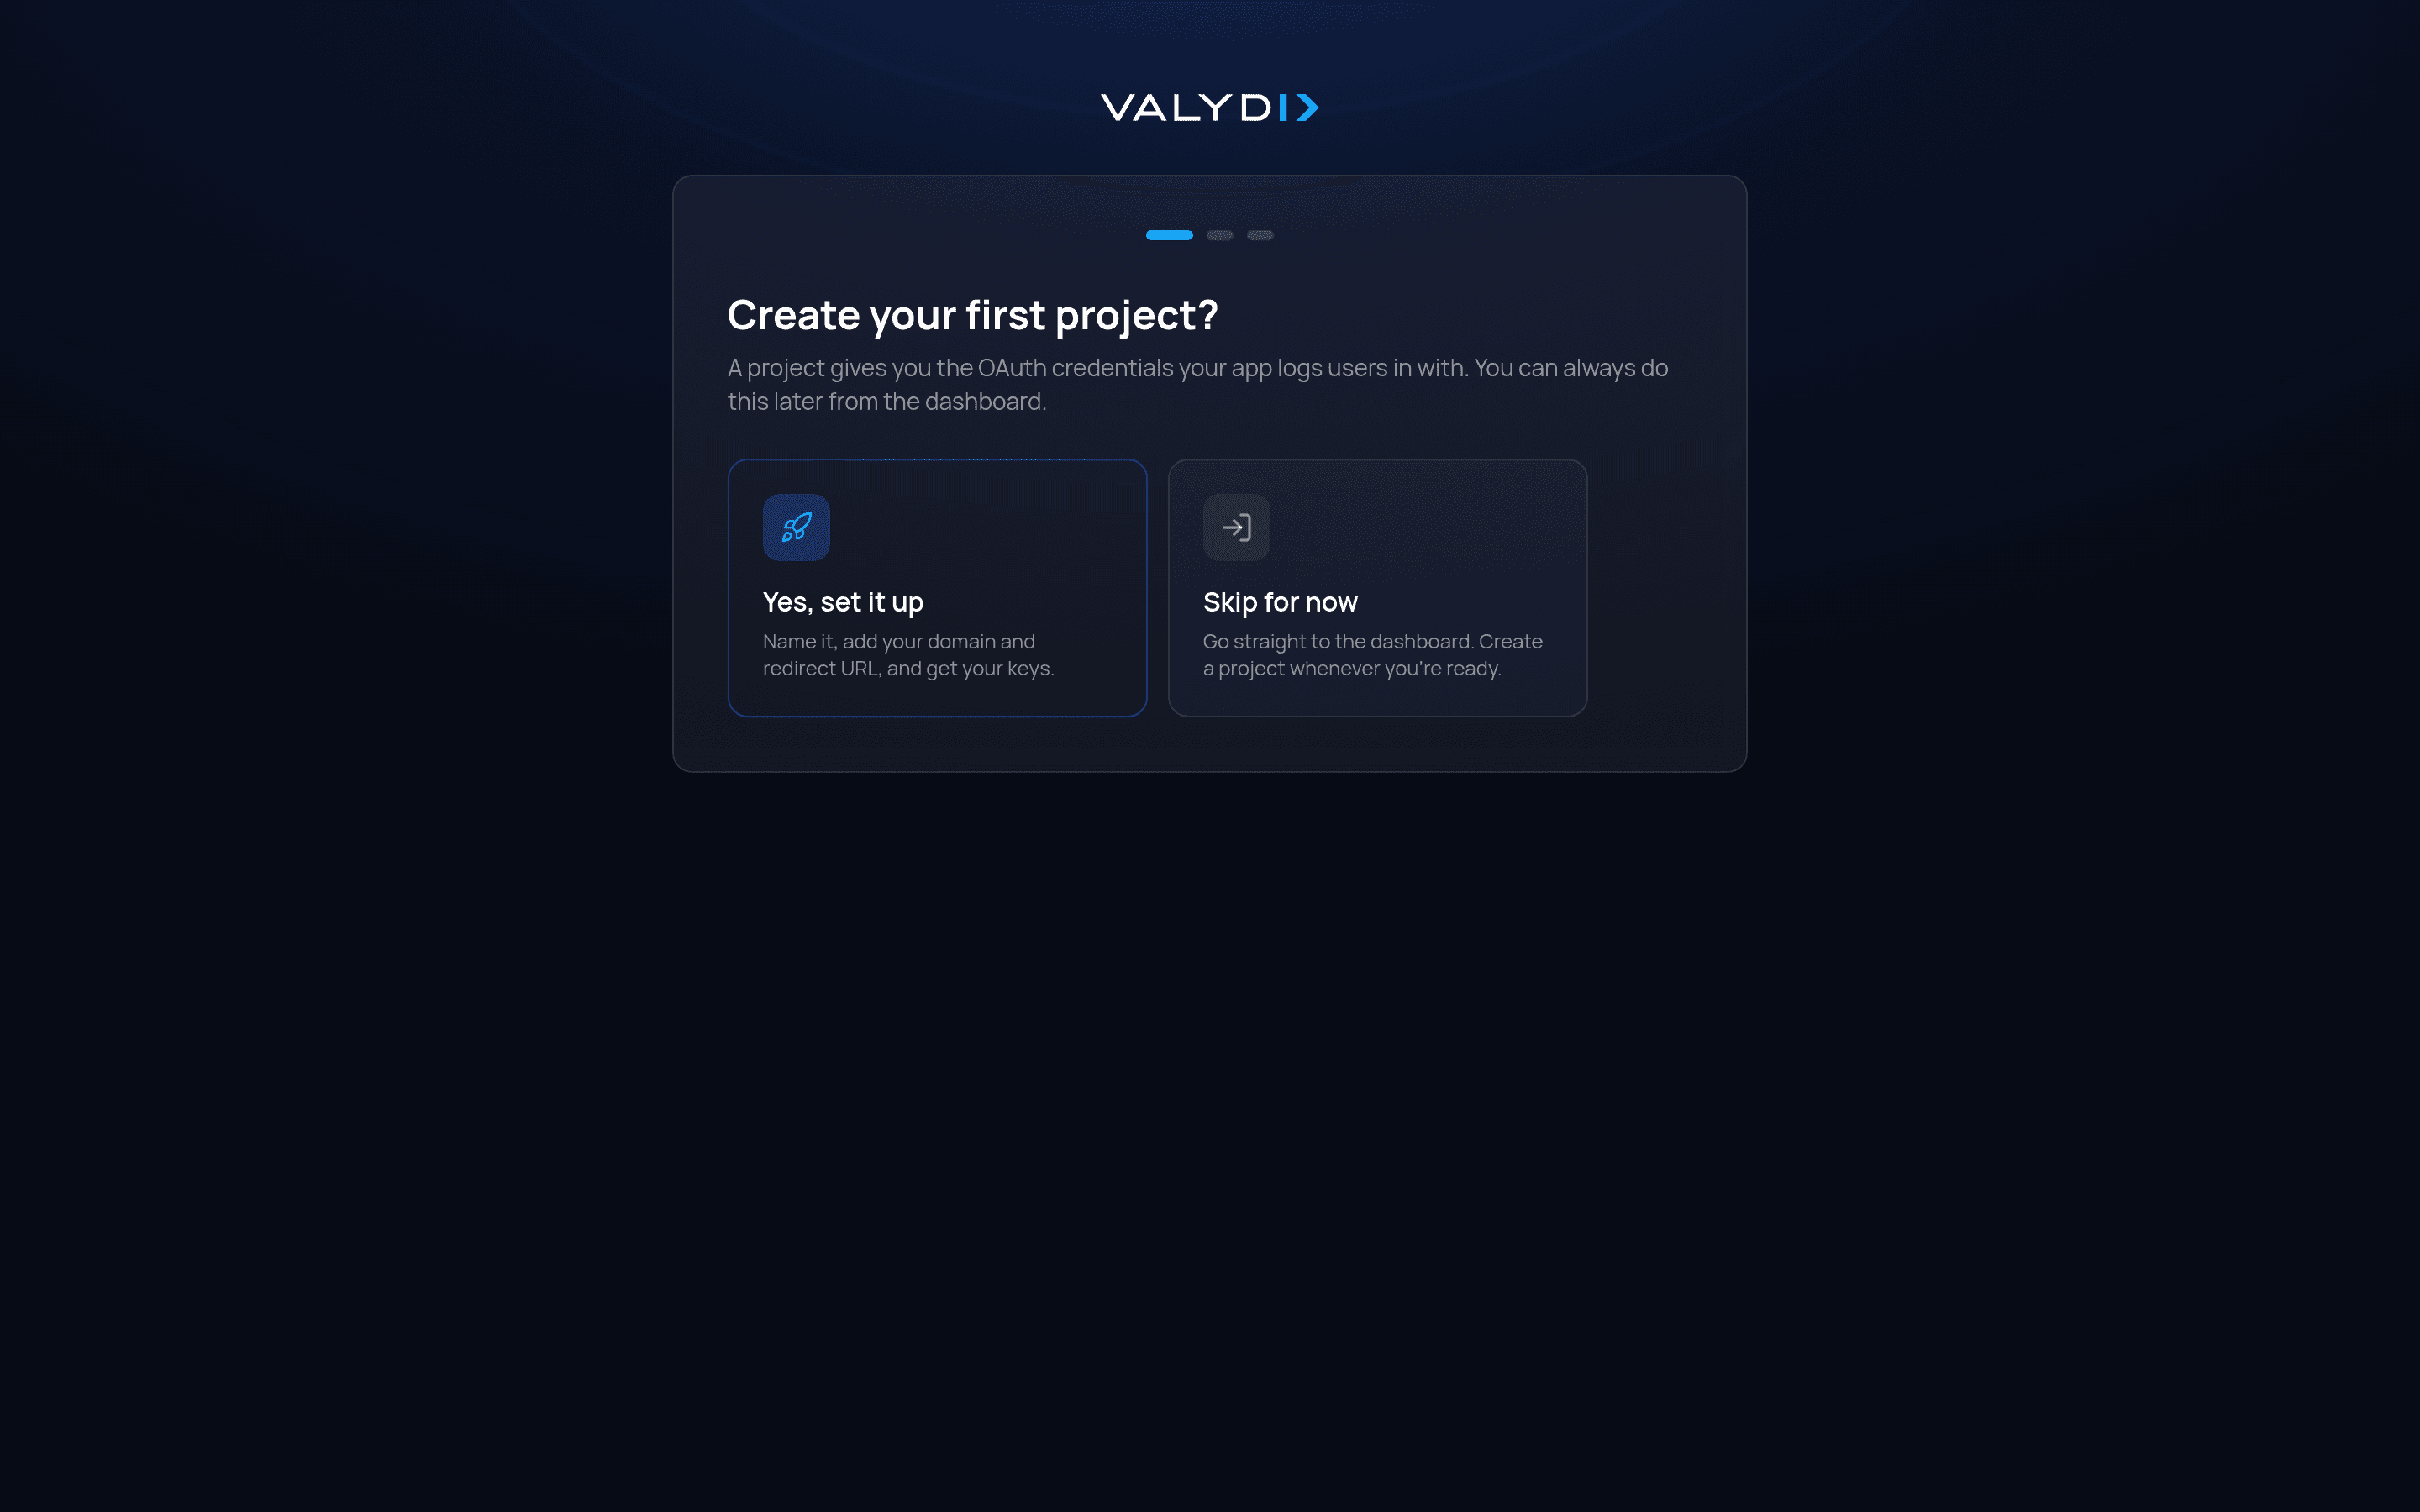
Right after sign-in the setup asks if you want to create your first project. A project gives you the OAuth credentials your app logs users in with. Choose Skip for now to go straight to the dashboard and set one up later:
3. Name your app
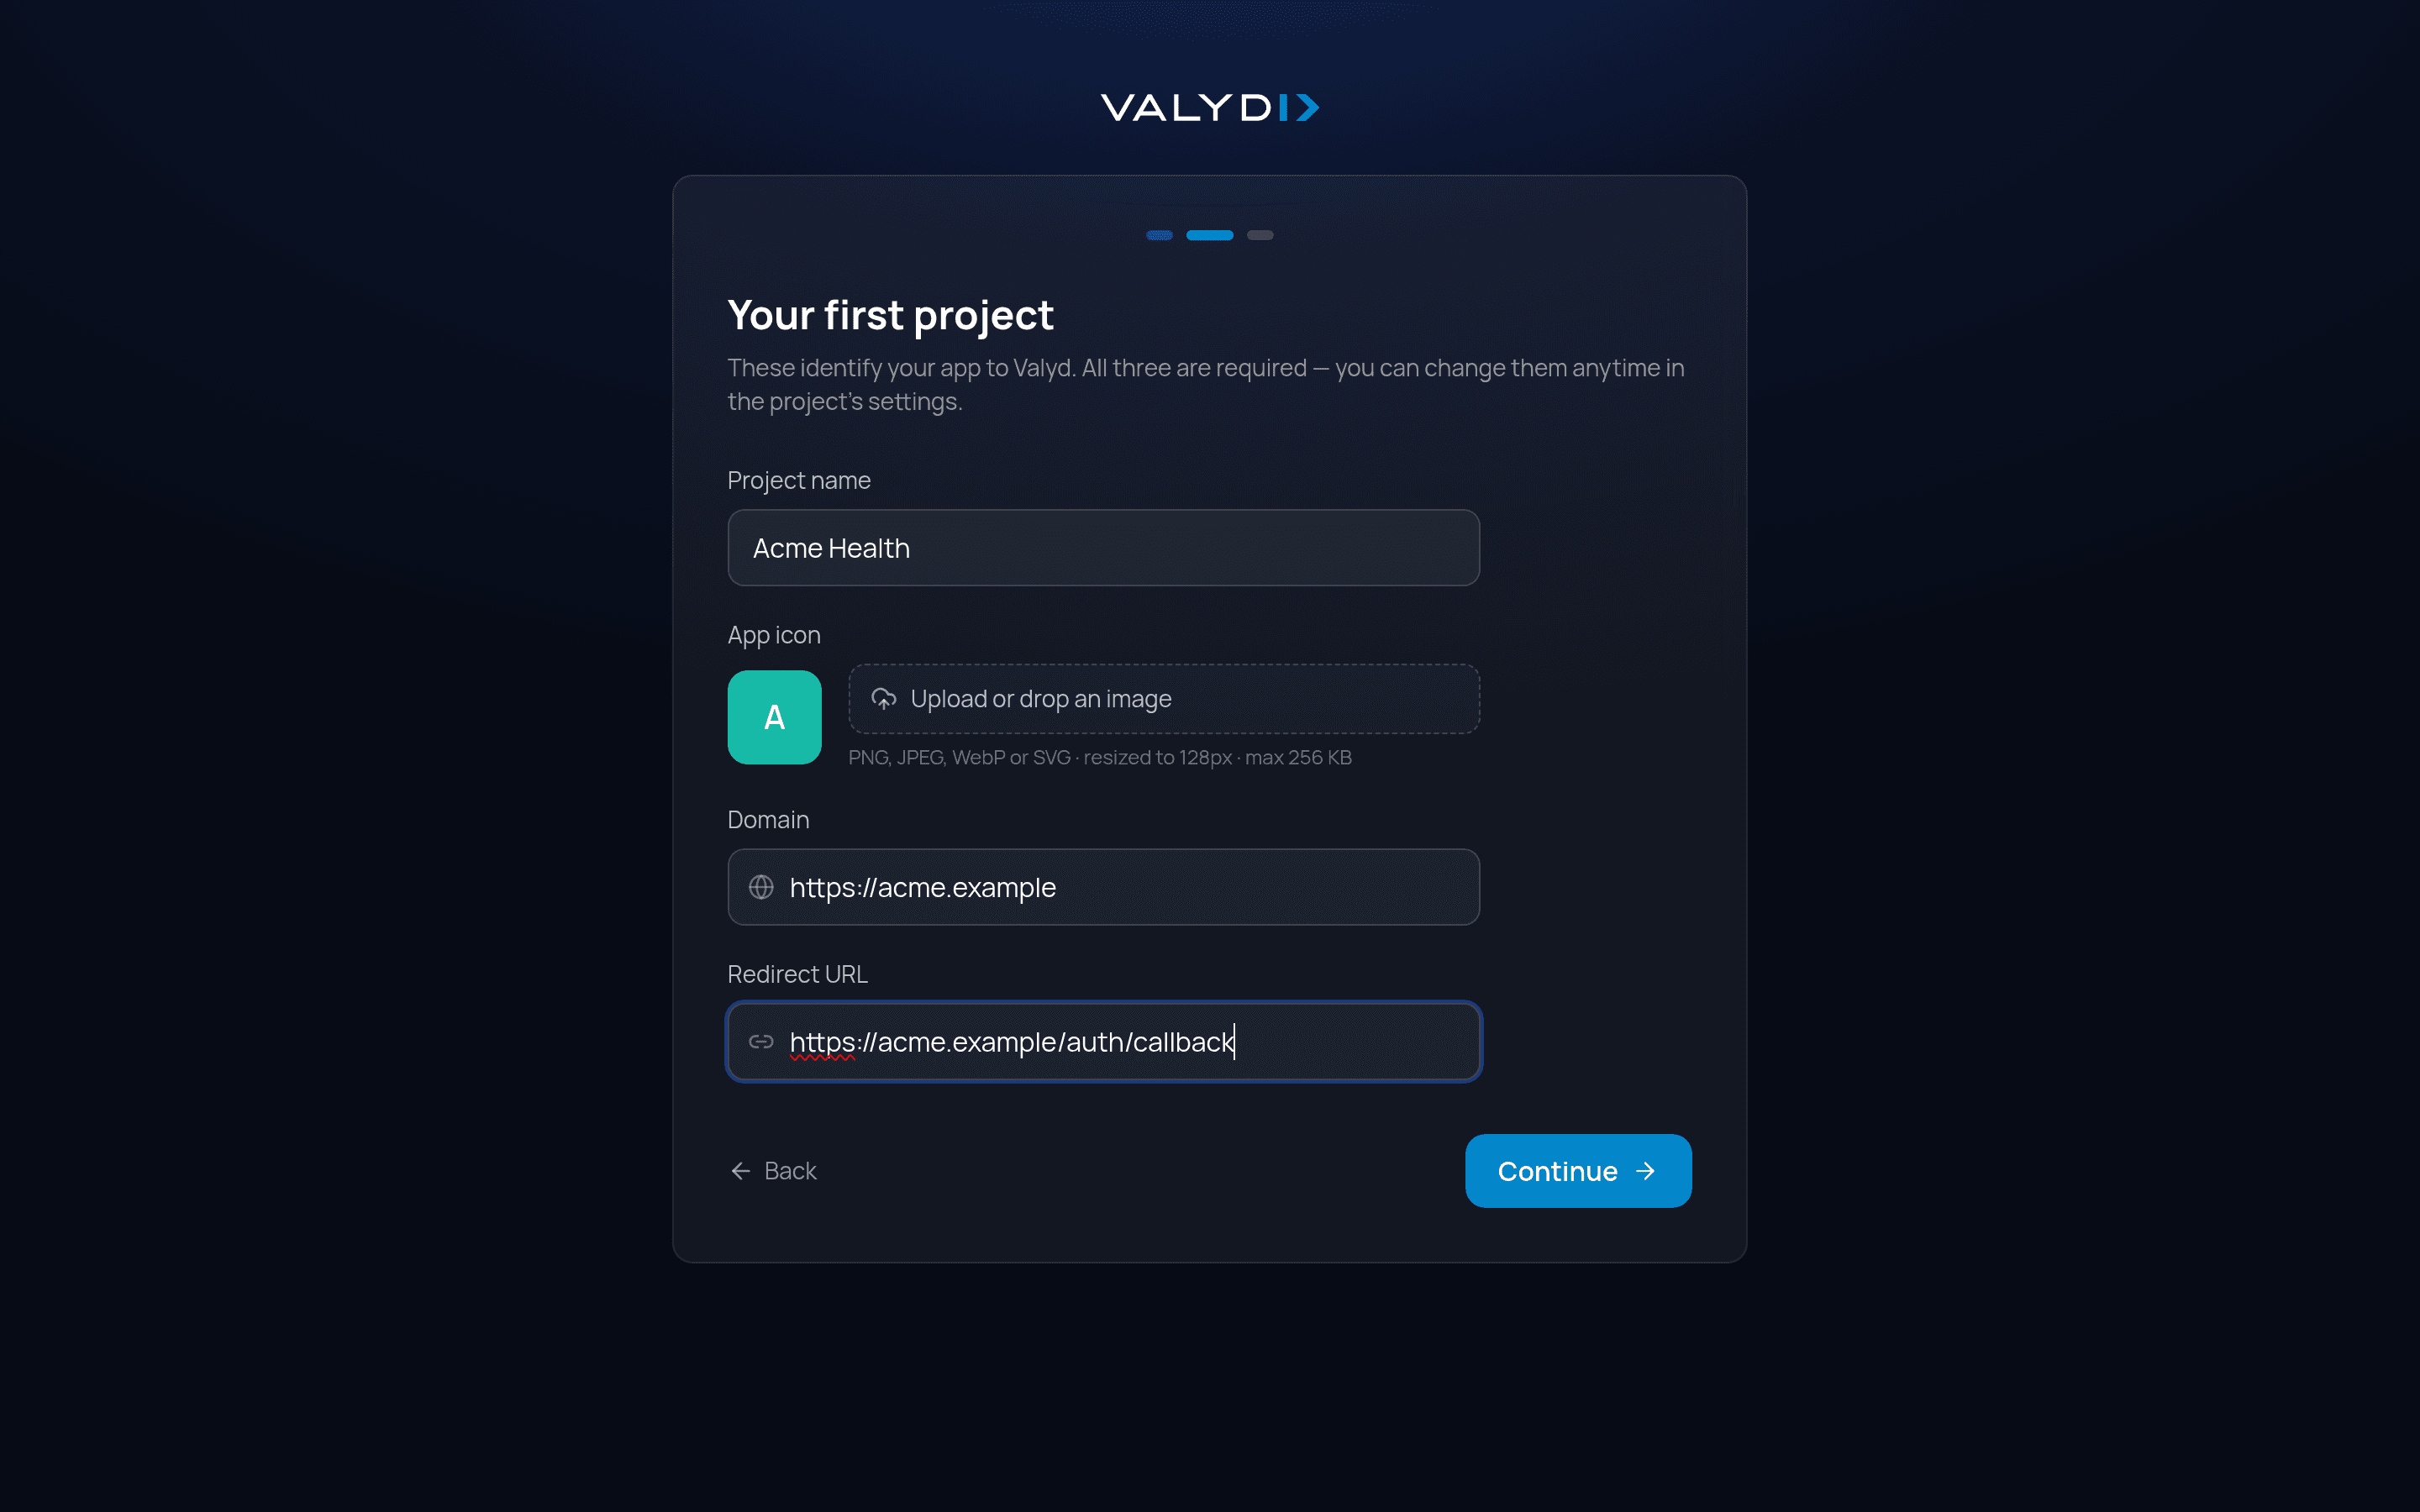
Give the project a name and add your domain and redirect URL — these identify your app to Valyd. You can change all three later in the project’s settings:
4. Add verifications
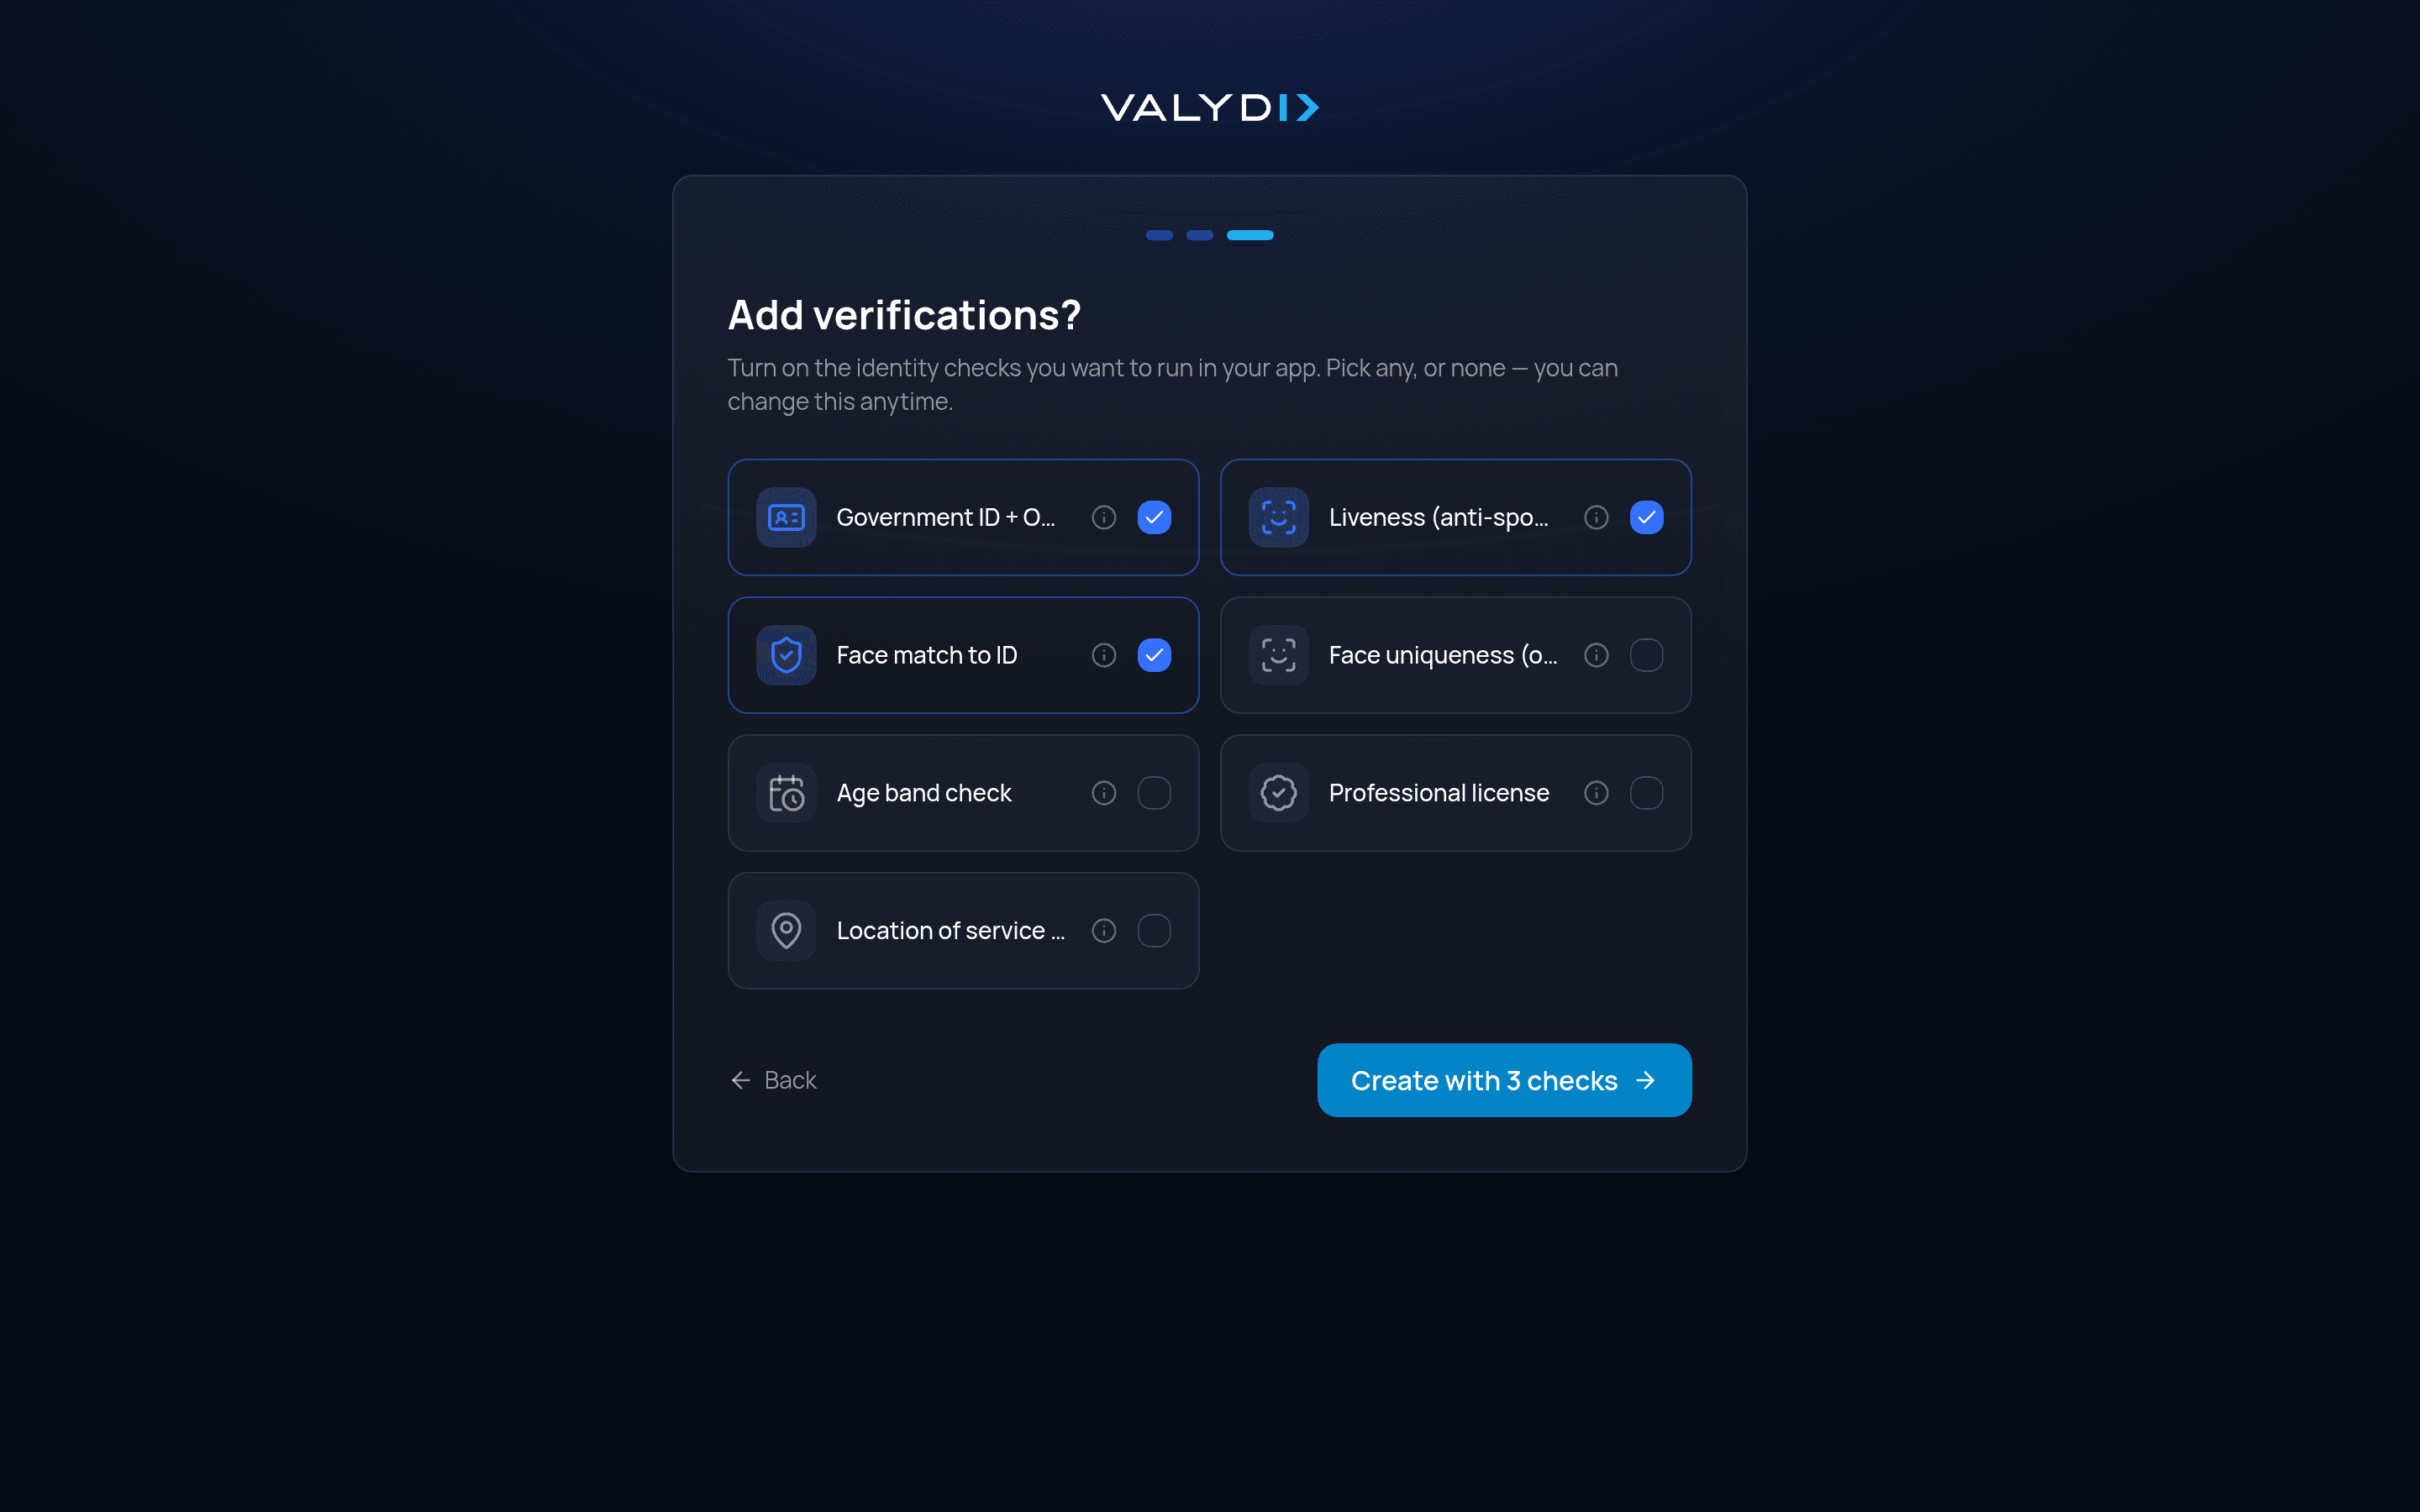
Turn on the identity checks you want to run — government ID, liveness, face match, face uniqueness,
age, professional license, or location. Pick any, or none. Every answer is delivered as
zero-knowledge-style proofs — the fact (id_verified: true, is_18_plus), never the underlying
data:
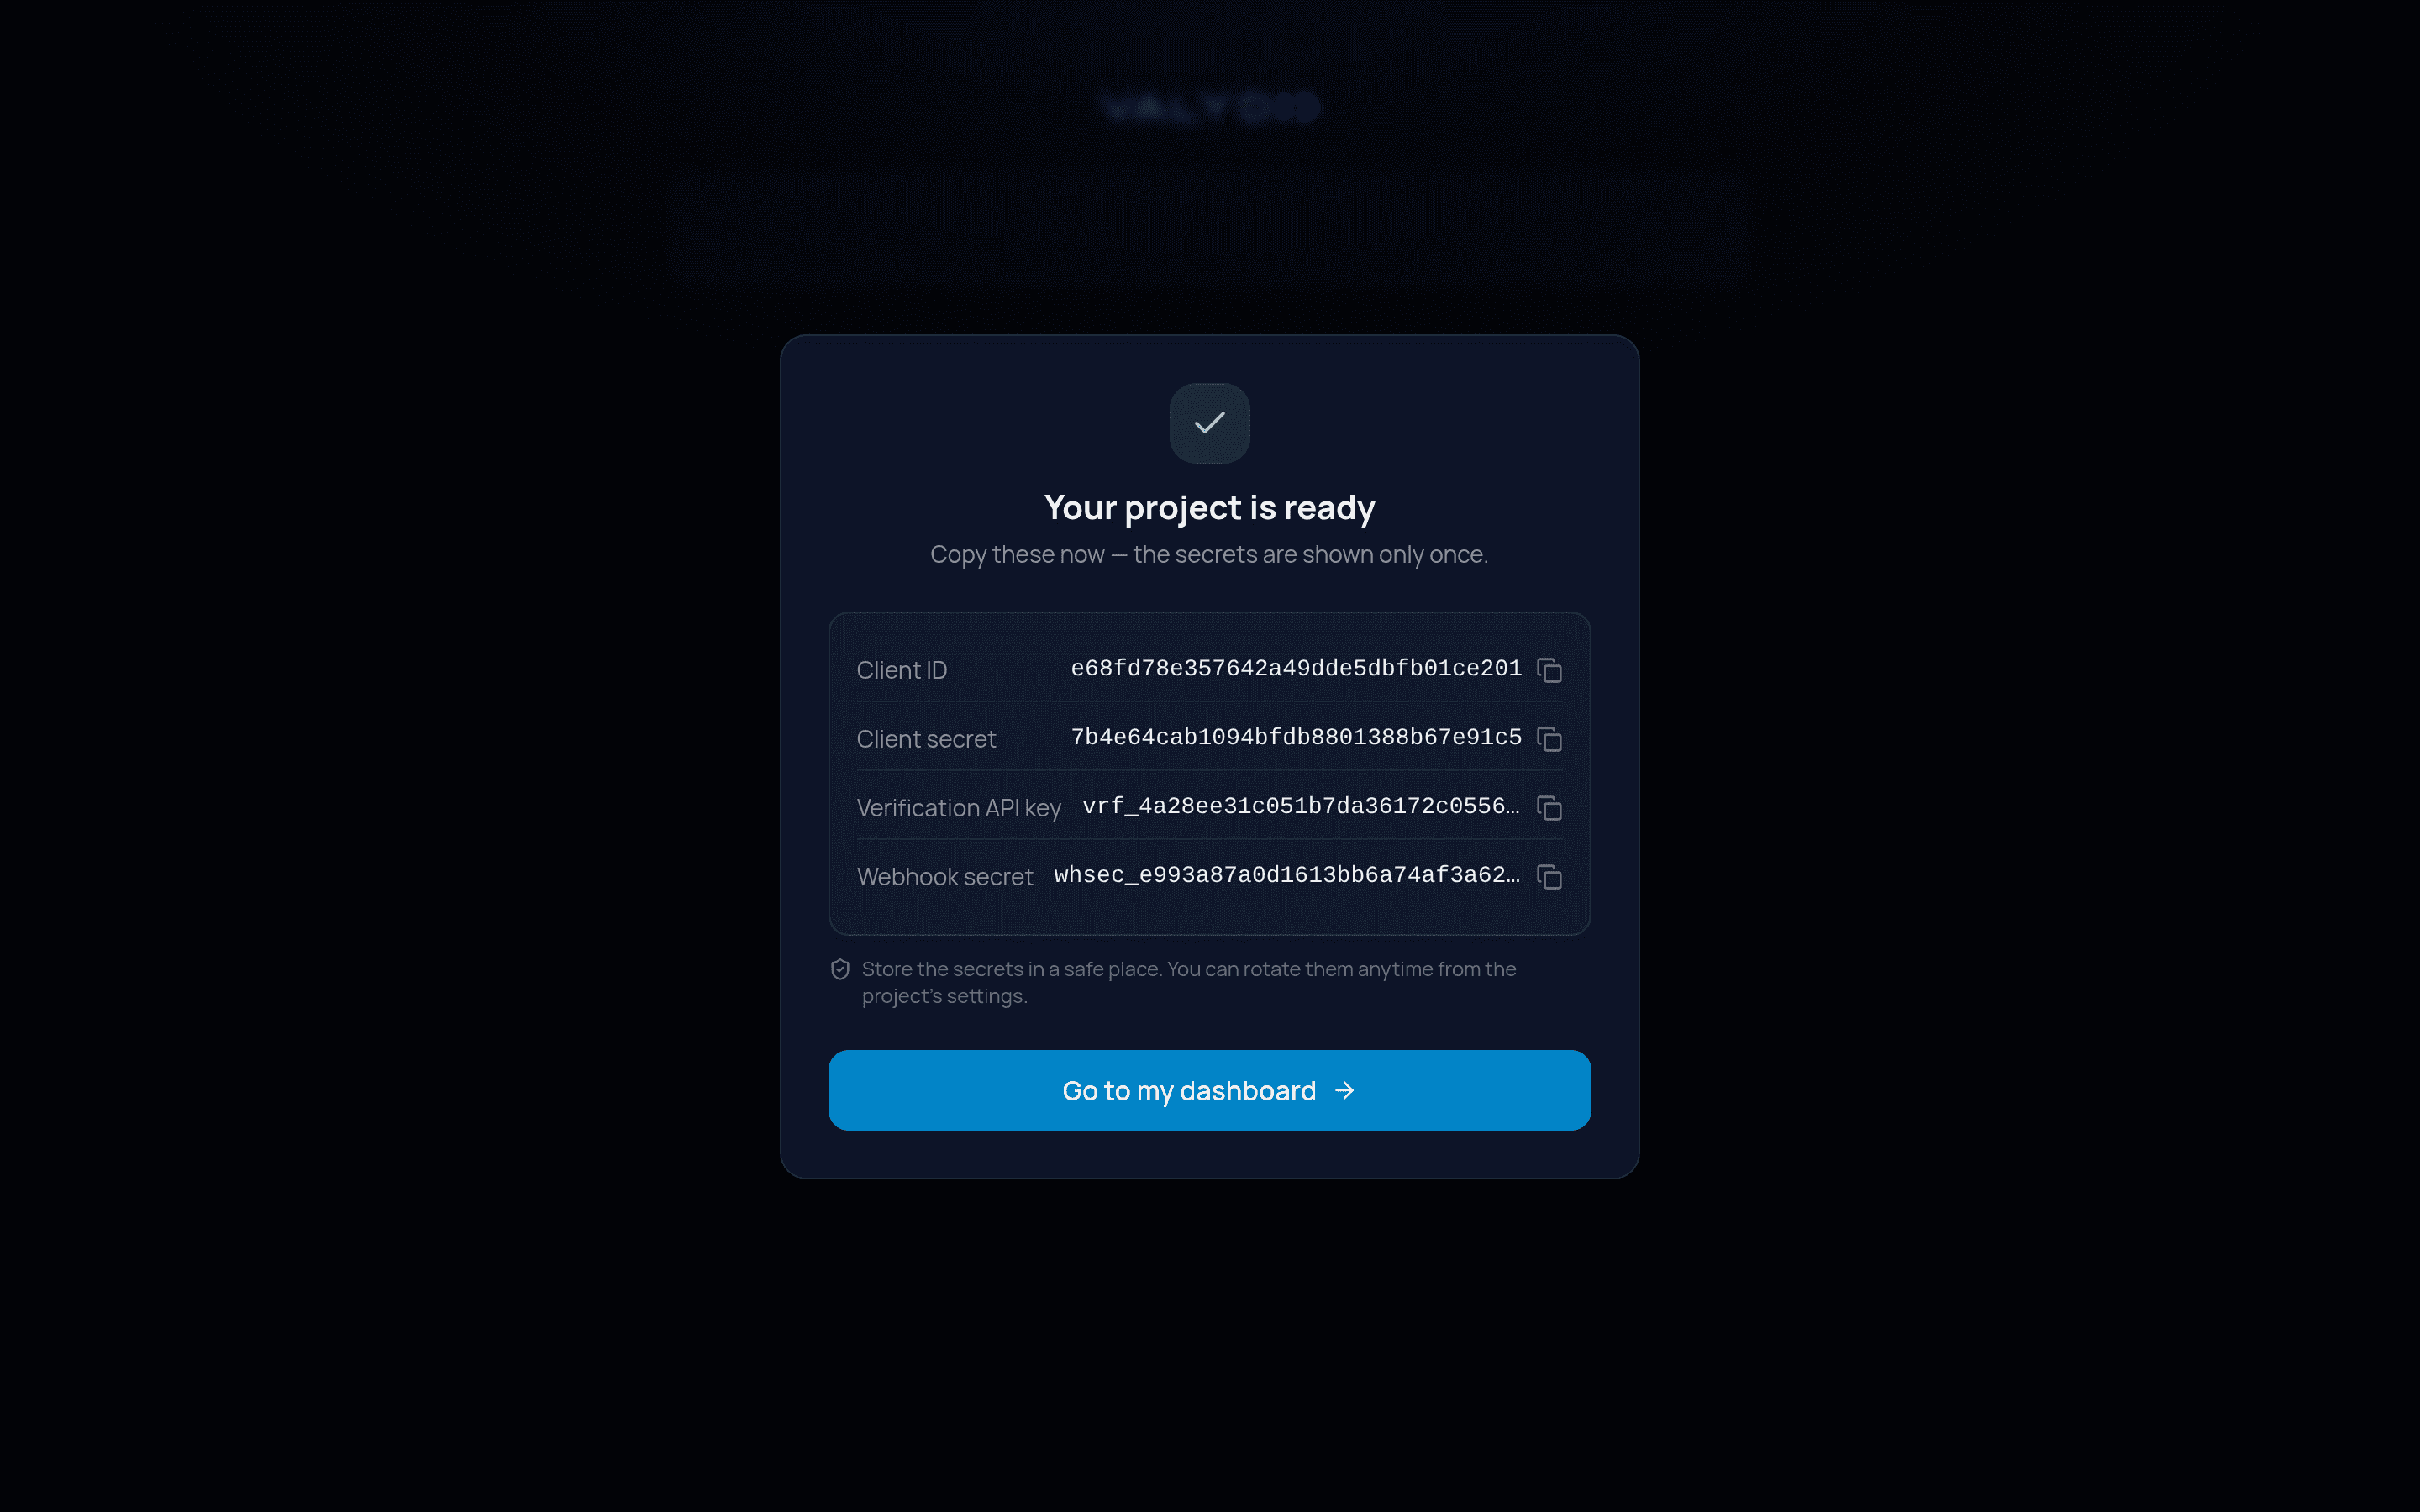
5. You’re in — with your credentials
Setup finishes with your Client ID and secret, Verification API key, and webhook secret on screen. Copy them now (the secrets are shown only once), then head to the dashboard:
Where things live from here
- Finish app setup — register your production redirect URI and scopes: Set up Sign in with Valyd (this page’s steps 2–3 are its step 1 done).
- Apps (Sign in with Valyd) —
client_id/client_secret, scopes, redirect URIs: Dev portal setup, then a quickstart for your stack. - Verification — account-connected verification lives inside your app; standalone projects live on the dashboard: Verification setup.